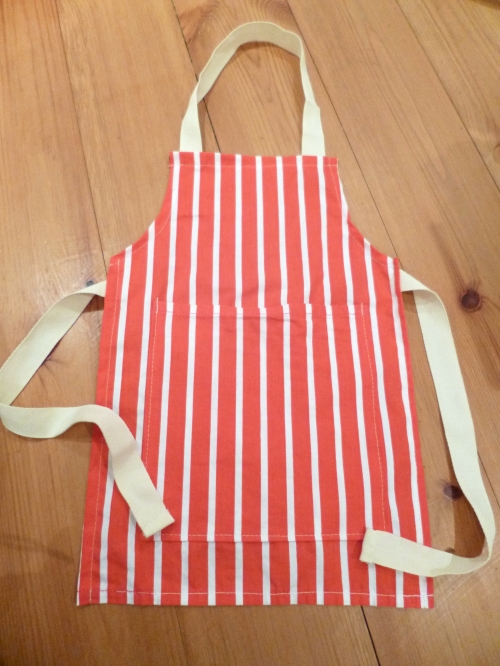
I found this stripy fabric in a charity shop for £1.99 and couldn’t resist making a chef’s apron for the little fella. Completely pointless, yes. But cute, too. Here’s how to do it.
You’ll need:
Cotton fabric (I used a 50cm x 45cm scrap for an apron to fit a 1-year-old)
Apron ties x3 (measure the circumference of your child’s head then add 5cm. Use this measurement for all three lengths)
Pins
A needle and thread, and/or a sewing machine
One of your child’s vests
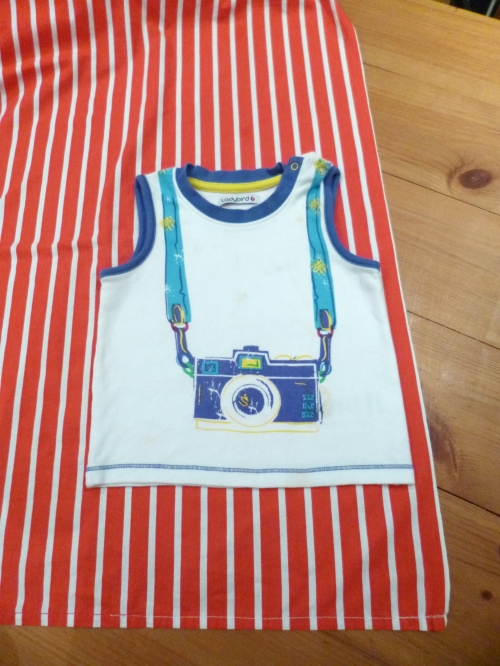
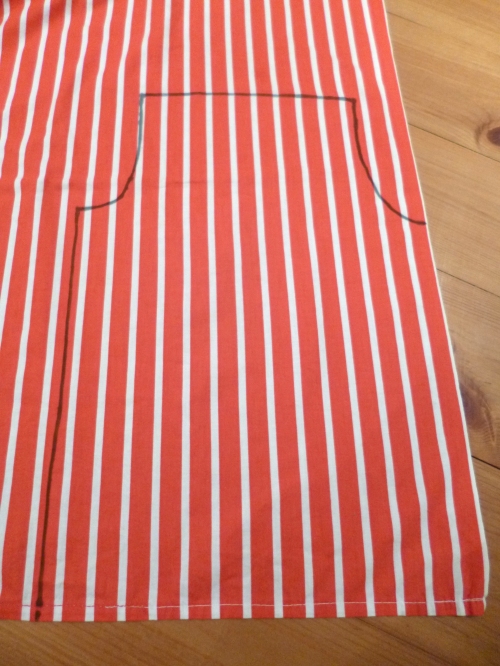
Step 1: Lay the vest on top of the fabric as per the photograph above (note the extra length below the vest – as a rough guide this measurement should be about half the length of the vest itself). Trace the vest (excluding the bottom edge) about a centimetre out from the edges using a washable felt tip pen.
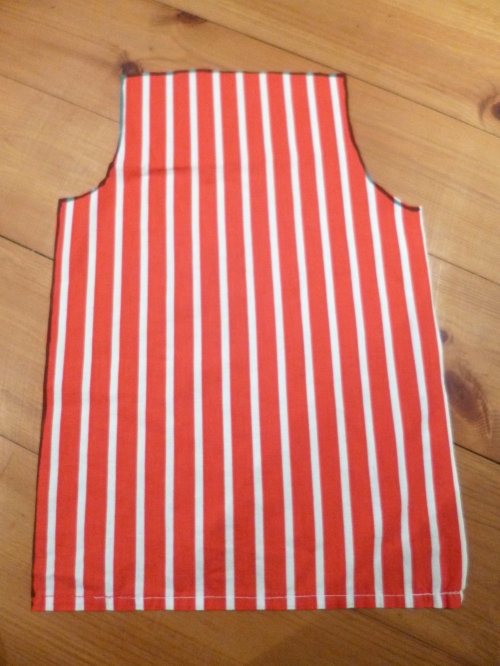
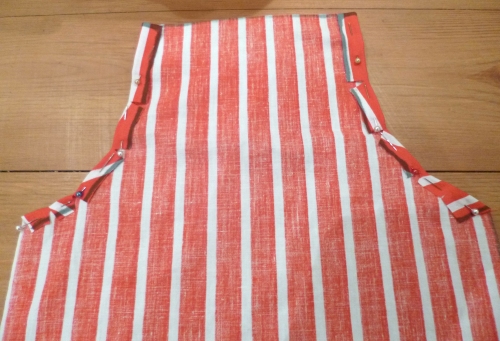
Step 2: Cut the fabric, following the markings, and you should end up with a basic apron shape like this one, below.
Step 3: Turn the fabric over so the right side is facing down. Begin hemming the apron by folding the edges of the two ‘arm holes’ inwards by about a centimetre and pinning in place. As these edges are curved, it’ll help if you make a few inward snips perpendicular to the edge with a pair of scissors beforehand – if you look closely at the photograph below you should be able to see what I mean (click it to enlarge). Tack and sew in place.
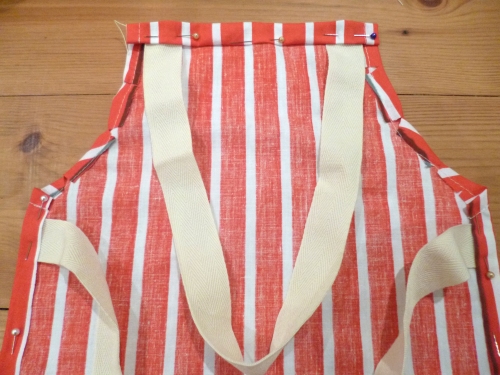
Step 4: Hem the top edge in the same way, by folding the edge of the fabric over by a centimetre, but this time tuck the two ends of the neck tie in as you do so, as per the photograph below. Pin and tack in place, then do the same along the two long edges – this time attaching the two side-ties as you do so (place them at the top, just beneath the armholes). Pin and tack, then sew all three edges.
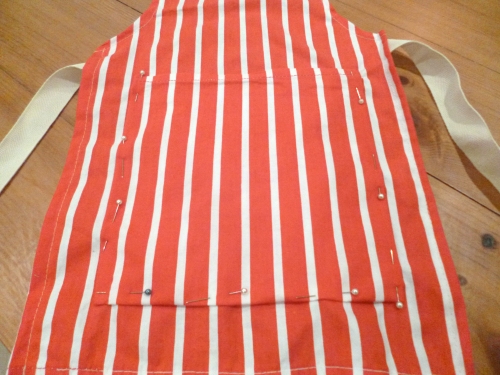
Step 5: From the leftover fabric, cut a pocket to fit the size of your apron, and hem all four edges by folding them over and sewing. Pin the pocket to the front of your apron and sew three of the edges, remembering to leave the top edge open.
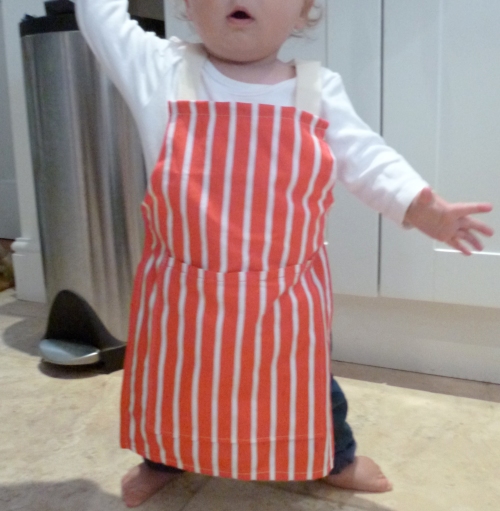
And voila! Here’s a photo of Little Boy modelling his apron to prove it does actually fit (with quite a lot of room to grow…). I’m still not sure about this do-I-or-don’t-I put photos of my kids on my blog thing, so for now I’ve chopped his head off. But you get the idea (and a lovely shot of my bin: bonus!)

